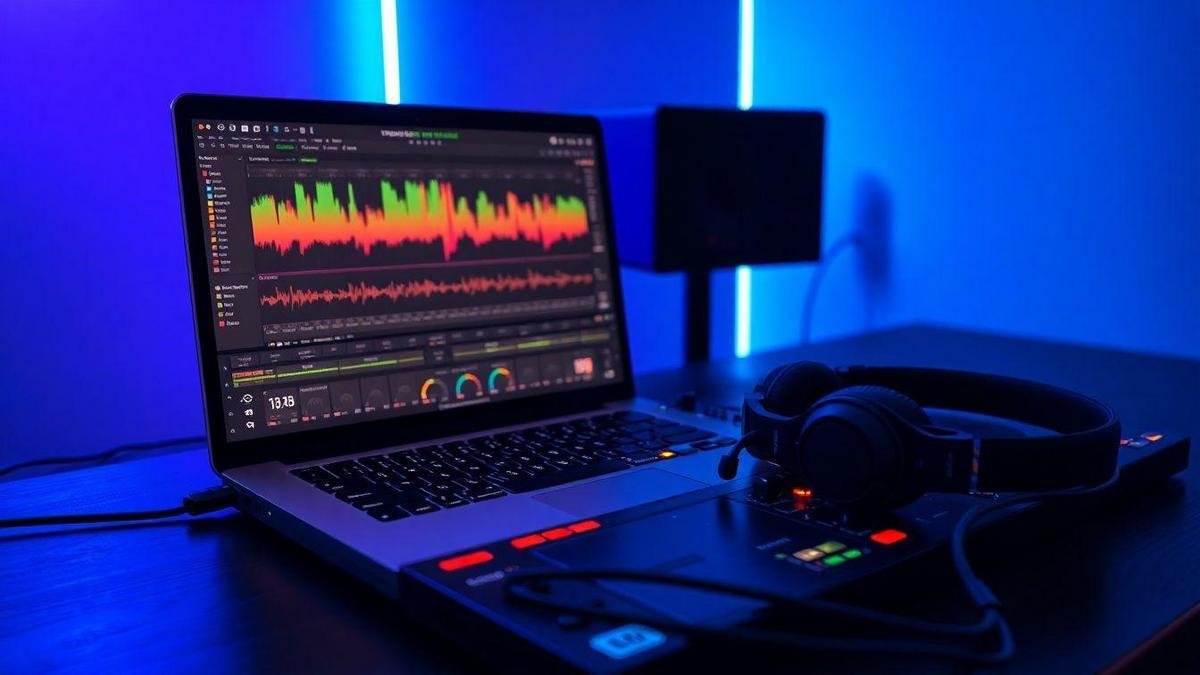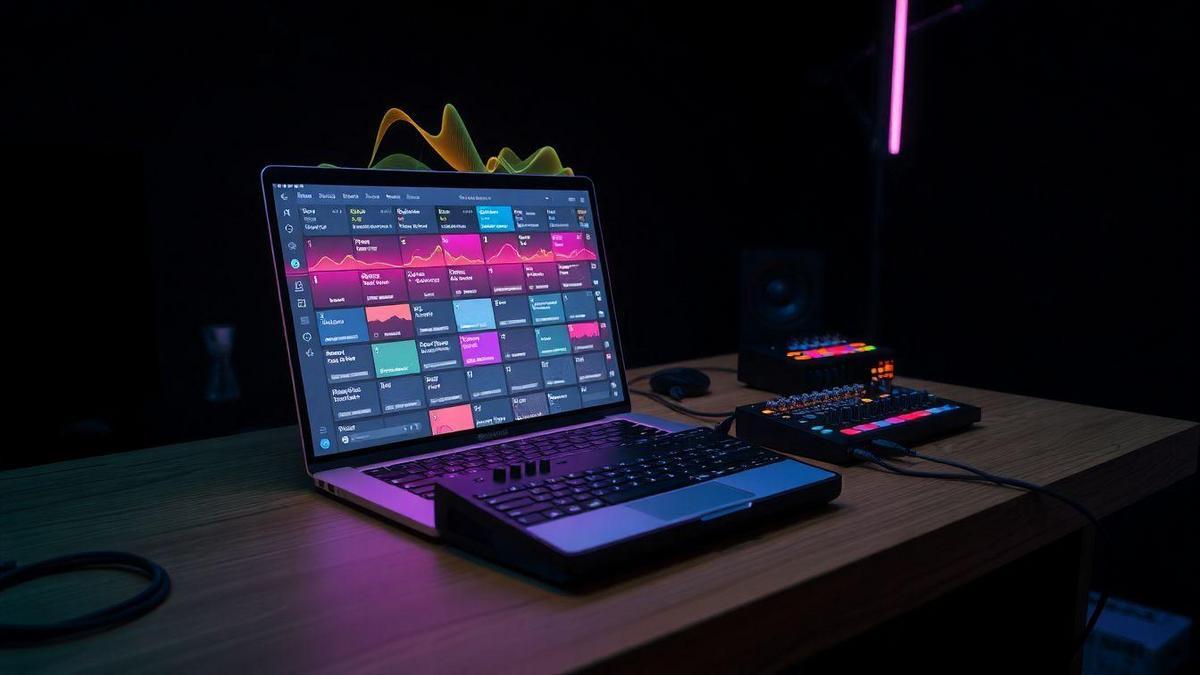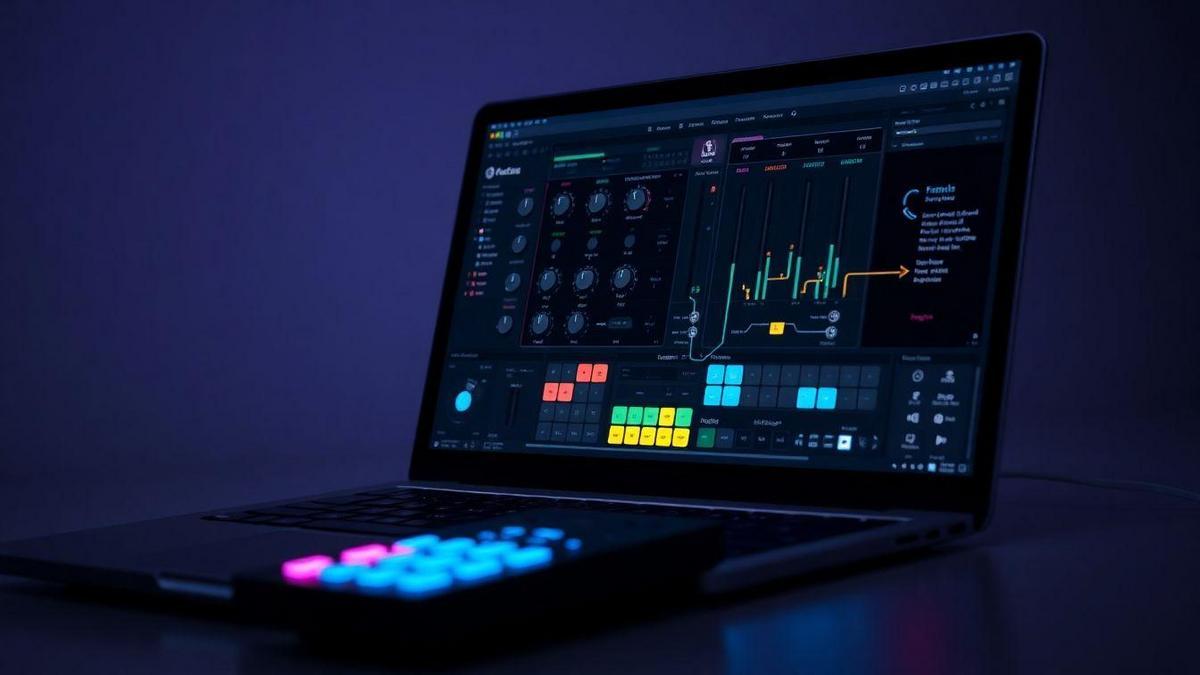
midi controller mapping software for live performers with custom macros
Sambizanga Musik — contact: contato@sambizangamusik.com | @sambizangamusik
Key Takeaway
- Sambizanga Musik helps you map MIDI controllers with custom macros to speed your DAW
- You can control FL Studio, Ableton Live, or Logic Pro X with one custom macro
- Tweak EQ, compression, and effect chains with a single knob to mix faster
- Make beats and tweak loops fast — great for African rhythms and grooves
- Clear guides so you set up studio mappings and map controllers with confidence
How you benefit from midi mapping with macros in a live set
You get control that feels like a musical sixth sense. With good mapping and macros you move away from mouse clicks and buried menus. Assign one button to mute a drum kit, one slider to morph a synth, and one pad to launch a backing track — keeping your hands on the gear and your head in the moment.
Macros chain actions so a single press does several things at once: raise a filter, boost a reverb send, and start a sample. That reduces mistakes, keeps transitions tight, and saves setup time. If you use midi controller mapping software for live performers with custom macros, setup time shrinks and your performance flows better.
Why custom midi macros save you time and keep your focus on performance
Custom macros compress many steps into one action. No more digging through plugin UIs during a live take — hit a pad and five things happen. Macros build muscle memory: after a few runs your hands stop thinking about controls and focus on expression. Test each macro in rehearsal until it feels natural.
Key terms you should know: MIDI CC, NRPN, Program Change, MIDI Learn
MIDI CC (Control Change) — real-time control of sliders and knobs.
NRPN (Non-Registered Parameter Number) — deeper device-specific tweaks.
Program Change — recall patches or song setups.
MIDI Learn — quick link of a knob, pad, or fader to a parameter.
| Term | What it does for you in a live set |
|---|---|
| MIDI CC | Real-time control of volume, filter, LFO depth, sends |
| NRPN | Fine control for synth parameters not covered by standard CCs |
| Program Change | Instantly recall patches or song-specific setups |
| MIDI Learn | Fast link between a controller and a parameter |
Quick start: simple assignable midi macros you can test tonight
Start small. Pick three macros:
1) One-knob filter sweep that raises a reverb send
2) Group mute/solo for percussion
3) Sample launch slight tempo-sync delay
Short list to try immediately:
- One-knob filter reverb boost
- Drum group mute/solo button
- Sample launch tempo-sync delay
- FX freeze (reverb low-pass) button
Tip: Map a single button to a Program Change that recalls a whole patch set — fast flips between songs.
How to pick midi controller mapping software for live performers with custom macros
Picking the right midi controller mapping software for live performers with custom macros is like choosing a guitar for a gig — it must feel right and solve the actions you need on stage. Start by listing on-stage needs: one-shot triggers, loop length controls, tempo-syncable effects, or a macro that mutes a bank when the chorus hits. Focus on latency, reliability, and on-the-fly editability.
Test how the software maps to your workflow: save macro banks per song, toggle chains of effects, change scenes, and send MIDI to external synths. Try a small routine first. If it feels smooth, scale up. Prefer tools with good community presets or clear tutorials, especially when mapping African rhythms or festival grooves.
Callout: Sambizanga Musik tip — start with one macro per song and master that. Add more only after it never fails mid-set.
Free vs paid options and what each gives you in real features
Free tools provide core mapping (CCs, notes, basic program changes) and are great for beginners. Expect limits on macro depth, scripting, device profiles, and update frequency. Paid options offer deeper macro systems, scripting languages, custom UI layouts, advanced routing, and better support.
Quick comparison table:
| Feature | Free | Paid |
|---|---|---|
| Basic CC/Note mapping | Yes | Yes |
| Nested macros / scripting | Rare | Common |
| Preset banks per song | Limited | Full |
| Low-latency performance | Varies | Optimized |
| Support & updates | Community | Official updates & support |
.label { font: 12px sans-serif; fill: #222; }
.axis { stroke: #ccc; stroke-width: 1; }
.bar-free { fill: #6aa0ff; }
.bar-paid { fill: #ff9f5a; }
5
4
3
2
1
Basic CC
Nested macros
Preset banks
Chart: relative feature depth — Free (blue) vs Paid (orange).
Cross-platform and DAW support to check before you buy
Check OS support (macOS, Windows) and any mobile companion apps. Drivers, MIDI backends, and Bluetooth MIDI behave differently per platform. Verify DAW compatibility: does the software send Mackie Control messages, MIDI CCs, or OSC? Can it control Ableton clips, Logic markers, or FL Studio via MIDI mapping? Test with your exact laptop, DAW, and controller.
Checklist for choosing customizable midi controller software that fits your rig
- Check OS and DAW compatibility
- Confirm low-latency performance with your laptop
- Look for nested macros and scripting if you need complex actions
- Make sure you can save/switch preset banks per song
- Test MIDI routing: local control, USB, and network MIDI
- Confirm update policy and support channels
How to connect your mappings to FL Studio, Ableton Live, and Logic Pro X
Choose a stable path: controller → mapping software → DAW. Create a dedicated MIDI port (CoreMIDI on Mac, loopMIDI/MIDI-OX on Windows), route your controller to that port inside your mapping app, and select the same port in your DAW’s MIDI preferences. Test with a single CC or note before mapping dozens.
Save DAW-specific templates: Ableton with racks and mapped macros, FL Studio with controller linking already assigned, Logic with channel-strip presets and program-change routing. Keep templates in a Live/Gig folder. Lock down program changes and feedback so LEDs and motor faders stay in sync.
Mapping basics in Ableton Live: racks, MIDI learn, and macro mappings
Use Instrument and Effect Racks: expose parameters, map to macros, and name macros clearly. MIDI Learn (click MIDI, touch a control) pairs well with racks so one physical knob can control filter, reverb, and delay together. Route your mapping app’s virtual port into Live and save the Live Set as a template so mappings persist.
FL Studio and Logic tips: templates, program changes, and automation lanes
FL Studio: use Controller Link (Link to controller) and save project templates with VSTs loaded. Program changes are handled via wrapper settings or MIDI Out. Name pattern chunks by preset for quick visual cues.
Logic Pro X: use Environment or MIDI routing for program changes, map incoming CCs to automation lanes, and save channel-strip patches. Clear naming schemes avoid panic on stage.
Example workflow: automated midi macro mapping between DAW and controller
Pick a macro pack (8 macros), assign them to a hardware bank in the mapping app, then map those macros into a DAW rack or channel strip. Automate macro values in the DAW or let the controller push them live. Use program changes to jump banks and resend macro values on bank change to keep faders/LEDs reflecting current state.
Quick live checklist before you play:
- Confirm MIDI port shows in DAW and mapping app
- Load DAW template and mapping preset
- Send a bank/program change and check LED/fader feedback
- Run a short sound check of macros that trigger samples or sends
Tip: If controller and DAW fall out of sync, send a full-bank re-init message from your mapping app to clear ghost values.
DAW quick-start table:
| DAW | Best starting point | Useful feature | Live tip |
|---|---|---|---|
| Ableton Live | Instrument/Effect Rack with macros | MIDI Learn Macros | Save as Template Set |
| FL Studio | Project template with mapped channels | Controller Link & wrapper settings | Name pattern chunks by preset |
| Logic Pro X | Channel strip presets Environment | Program Change routing | Use automation lanes mapped to CCs |
How to build live performance macros and multi-trigger midi macros for shows
Choose midi controller mapping software for live performers with custom macros that supports scenes, banks, and conditional logic. Map one macro to a single high-level task first: switch an instrument, recall a mix scene, or arm a sampler. Test each macro in isolation.
Build multi-trigger macros to layer actions: press once to change instruments, hold for a filter sweep, double-press to trigger a crash. Use banks and LED feedback. Rehearse whole songs and tweak timing; small ramp-time tweaks make macros feel natural. Add a panic button that mutes outputs and resets effects; save snapshots and export them.
Quick setup checklist: pick software, set scene macros, add multi-trigger behaviors, label controls, test whole-song run-throughs.
Performance macros for switching instruments, scenes, and effect chains
Map instrument switches to change sounds in a single move: stop a synth track, load a new preset, and route through a different FX chain. Use snapshots/scene recall linked to a button or pad. Use LEDs, color-coding, or on-screen overlays to avoid guessing. If your controller supports shift layers, expand options without more hardware. Label macros inside software and physically if needed.
Using multi-trigger midi macros for drum patterns and call-and-response grooves
Multi-trigger macros create evolving patterns without programming each step on stage. Map an 8-step groove to one pad: each press advances the pattern, long-hold flips to a variation, and conditional triggers add fills after repeats. Combine latch vs momentary actions to start patterns, accent while held, or double-press for fills. This enables bandleader-style cues with simple gestures.
| Trigger style | Typical use | Example on stage |
|---|---|---|
| Single press | Start/stop pattern | Kick loop on/off |
| Hold | Accent or filter sweep | Hold to add hi-hat roll |
| Double-press | Fill or change phrasing | Trigger 4-bar fill |
| Repeat-count conditional | Automatic variation after N repeats | Add percussion after 8 bars |
Cultural use-case: mapping African rhythms and diasporic patterns with macro-driven midi mapping
Embed phrasing into macros: map clave-like 3-2 or 2-3 patterns to pads so one press recalls the groove and sub-beats. Create macro chains that layer percussion textures in steps — congas, shakers, lead bell. Use swing and micro-timing offsets to keep the groove human. Preserve groove feel over mechanical perfection — let small timing shifts breathe life into patterns.
How to choose and set up hardware for reliable dynamic midi controller mapping
Pick hardware that matches how you play: many assignable controls, encoders that click, pads with velocity, and bright LEDs. For bank switching choose controllers with clear bank buttons or pages. Use class‑compliant USB devices when possible; for DIN MIDI, use a quality interface. Install low‑latency drivers and check your DAW’s MIDI buffer. Search for a midi controller mapping software for live performers with custom macros to fire combos and sequences with one press.
Label and save presets as you go. Create working templates: studio mixing, live sets, sampling pads. Back them up to USB or cloud.
Starter controller types and encoder/button layouts that work for beginners
Pads are the easiest start: 4×4 or 8×8 grids for clips, samples, finger drumming. Knobs and encoders handle effects; faders are for channel volume. Buttons with LED rings show state. Match layout to performance: drums on pads, effects on knobs, scene launch on buttons. Sambizanga Musik offers preset maps to speed setup.
| Controller type | Typical layout | Best for | Beginner score |
|---|---|---|---|
| Pad grid | 4×4 or 8×8 pads | Clips, samples, finger drumming | 9/10 |
| Compact controller | 8 knobs 8 pads | Effects small live rigs | 8/10 |
| Mixer-style | 8 faders buttons | Mixing hands-on control | 7/10 |
MIDI ports, USB interfaces, bank switching and latency you need to manage
USB is common; MIDI DIN still matters for vintage synths. Use a powered USB hub and a quality MIDI interface; avoid cheap hubs that drop data. Keep audio buffer low enough for MIDI timing without causing audio glitches. Use dedicated bank buttons or program-change messages for fast preset jumps. Group commands into single buttons via macros to stay musical.
Hardware compatibility quick list for home studio and stage setups
- Class‑compliant USB (plug and play)
- At least one MIDI DIN in/out for hardware synths
- Powered USB hub for multiple USB devices
- Dedicated bank/page buttons or program‑change support
- Sturdy build and clear LEDs for stage use
How to create, share, and troubleshoot custom midi macros and templates
Think like a stage tech and a chef: tools must be fast, repeatable, and consistent. Pick a midi controller mapping software for live performers with custom macros that matches your workflow — Ableton MIDI mapping, a hardware editor, or a standalone mapper. Build a simple template first: assign CCs for volume/pan, toggles for FX, and scene triggers. Keep names short and test in-room and on a small PA.
Export a preset package including a short README with wiring notes, MIDI channels, and required plugins. Share packages with bandmates or the Sambizanga Musik community and include screenshots and software version.
Troubleshooting is isolation: cable, device, DAW, or mapping file. Swap cables, test a different controller, open a fresh DAW session with one VST, and reload the template. Keep a changelog to reverse edits.
How to build a reusable midi macro template and export presets
Sketch a layout, group controls by function (transport, mixer, FX, triggers), and use consistent CC ranges and channel assignments. Prefix macro names like MIX_ or FX_ for easy filtering. Save mapping as a project template and export a preset bundle with a README.
| Export Type | Use Case | Notes |
|---|---|---|
| .mid / .syx | Hardware controllers | Device-specific memory dumps |
| .xml / .json | Editor templates | Readable text for cross-platform editors |
| .presetpkg | Bundled setups | Include README, screenshots, and device map |
Compress screenshots and README with mappings into one ZIP/preset package and upload to a community folder. Reusability comes from clarity: short names, clear channels, and a one-file package anyone can open.
Troubleshooting tips: routing, latency, mapping organization, and MIDI Learn fixes
If controls jump or plugins don’t respond, check routing: MIDI input the DAW listens to, controller send channel, and plugin message type (CC or note). Use a MIDI monitor to watch messages while you move a knob.
Quick checklist:
- Verify physical connections and USB hubs aren’t overloaded
- Check MIDI channel and port assignments in controller and DAW
- Disable conflicting mappings in DAW or plugin
- Test with a fresh session and one plugin to rule out session corruption
Latency and jumpy automation often come from buffered audio or routing loops. Lower the audio buffer if CPU allows and avoid routing MIDI through many layers. For MIDI Learn hiccups, clear stray mappings, relabel controls, and re-learn while watching the plugin’s automation lane. If doubled messages occur, look for duplicate drivers or two active ports in the DAW.
Best practices for a tidy midi macro editor workflow and automated backups
Keep a consistent folder structure: Templates/, Exports/, Screenshots/, Changelogs/. Use clear naming (e.g., 2025-09-27BasicMixv1.zip). Automate backups by syncing to cloud storage or using a script that copies changed files to a backup drive after each session. Run backups when you close your editor — one click and you’re safe.
Conclusion
You have a clear, practical roadmap. Focus on small wins first — one reliable macro, one saved template, one tested hardware setup. Those habits save time and keep your focus on music.
Map for the tools you actually use. Whether Ableton, FL Studio, or Logic Pro X, pick mappings that feel like extensions of your hands. Use templates, name things clearly, and build macros that act like a single button doing a dozen jobs. Test feedback, keep latency low, and rehearse until moves become muscle memory.
Protect your show. Backups, a panic button, and simple troubleshooting steps keep you calm when things go sideways. And don’t forget the creative side: map grooves, respect swing, and make room for human timing — especially when working with African rhythms and diasporic patterns.
You’re ready to turn mouse clicks into live feeling. Want more hands‑on tips, presets, and templates? Head over to https://sambizangamusik.com and read more articles.
Frequently asked questions
How do I map my MIDI controller in Ableton Live with custom macros?
- Open Ableton, enable MIDI map mode, click a control, move your knob.
- Group controls and create a Macro in the Instrument/Device Rack.
- Save the rack as a preset. Sambizanga Musik offers step-by-step tips.
What are the best midi controller mapping software for live performers with custom macros?
- Sambizanga Musik trusts Ableton Live, Bome’s MIDI Translator, and TouchOSC.
- Use free tools to test, then upgrade to paid if you need pro features.
- Try each in a short live run to see what fits your flow.
How do I create a custom macro that tweaks many knobs at once?
- Group the devices or channels you want to control.
- Map each parameter to one macro knob or script.
- Label and save the macro as a preset for quick recall.
Can I use mapping software with a small home studio or phone?
- Yes. Use rtpMIDI or USB to link phone apps like TouchOSC.
- Sambizanga Musik recommends starting with free apps to learn.
- Keep setups simple for reliable home studio performance.
My macros lag or skip during a live set. How do I fix it?
- Lower your audio buffer and close extra apps.
- Use a dedicated MIDI interface and simpler macro scripts.
- Test your setup often and save working presets before shows.
Let’s Grow Together — contato@sambizangamusik.com | @sambizangamusik