synth preset managers for sound designers organizing large libraries help you save time and stay creative instead of digging through folders. In this quick guide from Sambizanga Musik you’ll learn why a preset manager matters, how naming, tagging, batch edits, and backups speed your workflow, and what to test before you buy. You’ll see simple rules for search and recall, tips to sync presets across platforms, and how to plug them into FL Studio, Ableton Live, and Logic Pro X. The tone is practical. The steps are tested. You’ll finish ready to pick the right free and paid tools and keep your studio flowing.
Key Takeaway
- Sambizanga Musik helps you pick a preset manager that saves you time
- You can tag, sort, and search presets to stop digging through folders
- You’ll keep sounds consistent across projects and speed your workflow
- You’ll easily share and back up favorite presets for safe reuse
- You’ll learn simple tips from Sambizanga Musik to tweak presets like a pro
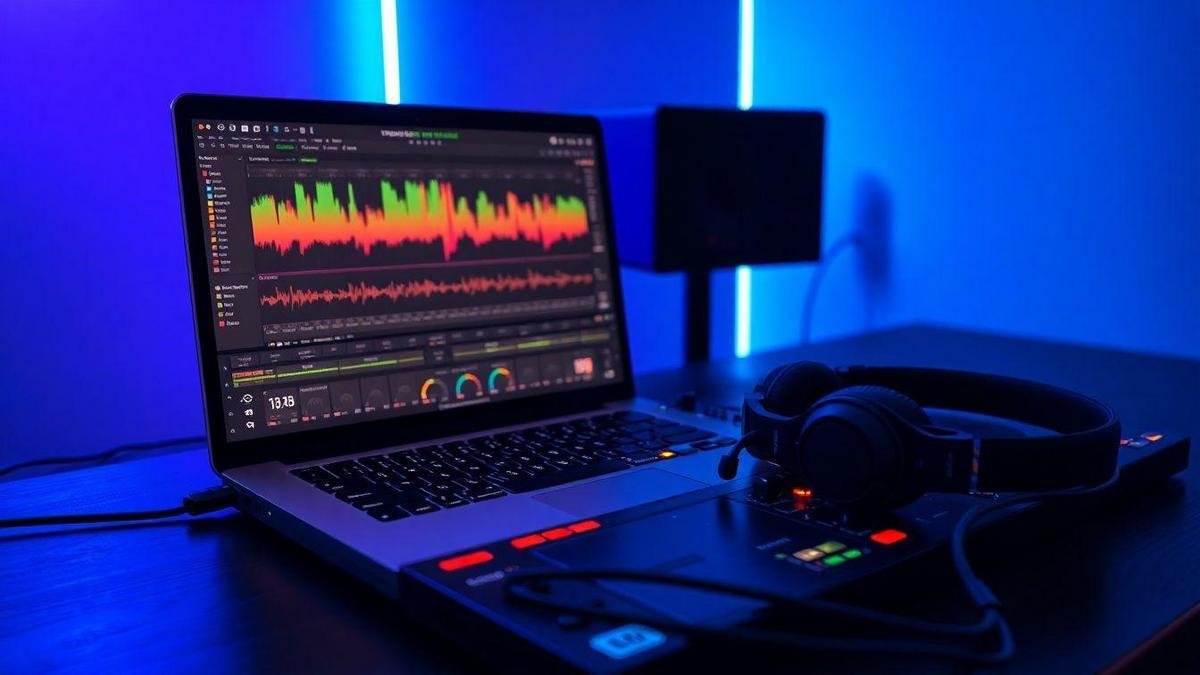
Why use a preset manager in your studio
You lose far less time and patience. If your plugin folders look like a jungle after a few years, a preset manager gives you a map: tag sounds, hear previews, and jump to what you need fast. That keeps you in the creative seat instead of stuck in menu purgatory.
A manager keeps your flow alive. Instead of scrolling, you click, compare, and play — which prevents projects from stalling. For home studios, that means more finished tracks and fewer abandoned sessions.
Sambizanga Musik focuses on tips that actually help you finish music. Using a manager reduces decision fatigue, helps you spot gaps in your library, tidy presets, and build a go-to palette of sounds that match your style quickly.
Tip from Sambizanga Musik: Start by tagging 50 go-to presets (drums, bass, lead, pad). That one habit will pay off every session.
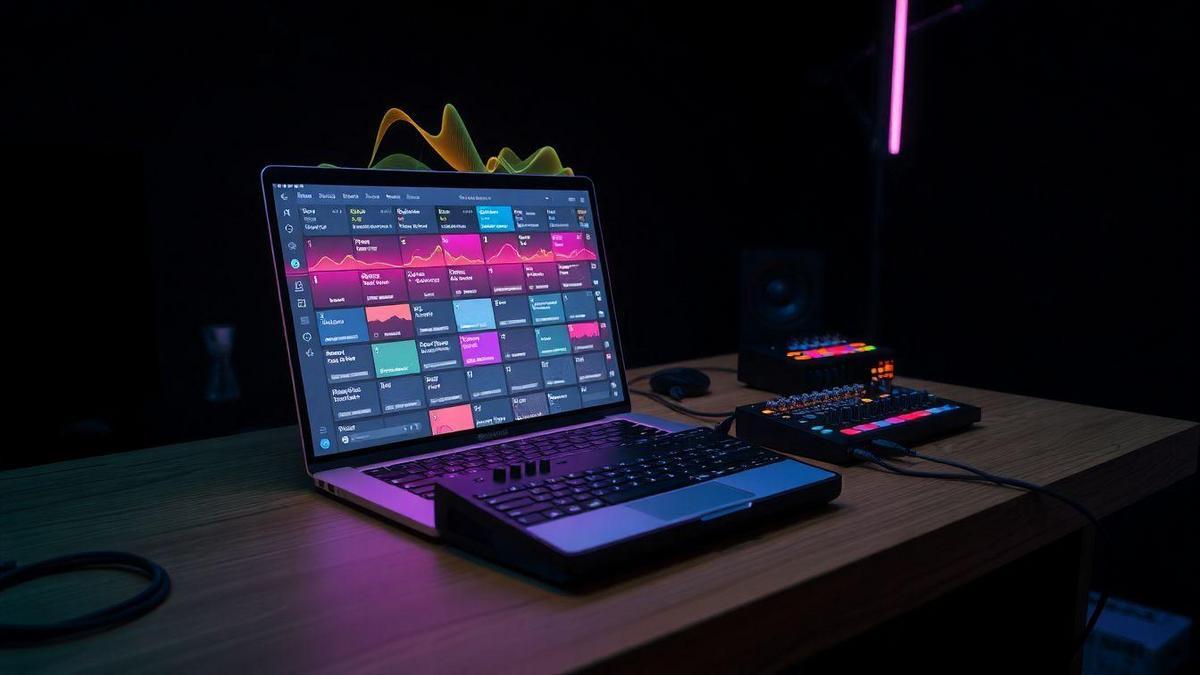
How synth preset managers for sound designers organizing large libraries cut browsing time
When synth preset managers for sound designers organizing large libraries are set up, you stop guessing. They let you search by mood, filter by parameters like attack or filter type, and audition dozens of sounds in seconds. Find a warm pad, slow attack and the manager shows matches from multiple plugins at once.
Sound designers with huge collections save real hours. You’ll go from hunting for a sound for half an hour to trying ten options in five minutes. That speed lets you test ideas fast, tweak one preset across projects, and keep a consistent palette without wasting creative energy.
| Library size (presets) | Typical browse time without manager | Typical browse time with manager |
|---|---|---|
| 500 | 15–30 minutes | 3–6 minutes |
| 2,000 | 45–90 minutes | 8–15 minutes |
| 10,000 | hours | 15–30 minutes |
.label { font: 12px sans-serif; fill: #222; }
.time { font: 11px sans-serif; fill: #fff; }
.bar-bg { fill: #eee; }
.bar-without { fill: #d9534f; }
.bar-with { fill: #5cb85c; }
500 presets
15–30 min
3–6 min
2,000 presets
45–90 min
8–15 min
10,000 presets
hours
15–30 min
Red = without manager · Green = with manager
Real benefits for beginners and home studios
A preset manager teaches as you work. See which parameters get changed most and learn sound design by reverse-engineering presets. For beginners, that means faster learning and less overwhelm. Sambizanga Musik recommends using presets as a classroom: tweak one knob at a time and listen.
You also get practical gains for small setups: preview responsibly to keep CPU low, organize free packs, and back up favorites so nothing vanishes.
Look for these features when you choose one:
- fast search and tagging
- preview on hover
- batch tagging
- version snapshots
- easy backup/export
Quick facts on workflow gains
Expect a 30–70% cut in time spent browsing, fewer stalled sessions, and clearer creative choices. Simple habits — like tagging genres or moods — compound fast. The result: more music finished, less friction in daily work.
Pick the right software: free and paid options
Choosing between free and paid preset managers comes down to what you need now and where you want to go. If you’re building your first library, free tools let you learn without spending. Sambizanga Musik recommends starting lean: import, tag, and recall presets before committing to paid tools.
Paid managers often save time once your collection grows. Look for batch renaming, advanced tagging, cloud sync, and fast auditioning. These matter if you use synth preset managers for sound designers organizing large libraries — the right paid tool can be the difference between a smooth workflow and digital chaos.
Try before you buy: use free trials or limited versions to test speed, CPU load, and DAW fit. Many paid options offer trials; use them to compare real-world performance, not marketing claims.
| Feature | Free tools | Paid tools |
|---|---|---|
| Import & basic tagging | Usually yes | Yes, often faster |
| Batch edits & renaming | Rare | Common |
| Cloud sync | Rare | Common |
| Advanced search (tags, macros) | Basic | Powerful |
| Customer support & updates | Community | Official support & regular updates |
Tip: If your presets feel like a messy record crate, focus on tools with fast search and smart tagging first. That reduces the scramble when inspiration hits.
A simple synth preset manager guide to test features
Open the manager and import a known pack. Time the import, check whether metadata (author, tags, parameters) is preserved, and try playing presets directly from the manager. You want instant auditioning, not a slow hop from window to window.
Test organizational features: create folders, add multiple tags, fuzzy search, and batch-rename. Confirm presets keep filenames and parameter states when exported back to a synth. If A/B compare or snapshots exist, use them.
Cross-platform preset syncing and compatibility to check
Verify file-format compatibility: proprietary formats, FXP/FXB, and common sample folders. Test presets between Mac, Windows, and Linux — broken links or lost sample paths will cost you time.
Test cloud sync and conflict handling by uploading on one machine and editing on another. If you use multiple DAWs or mobile apps, confirm the manager preserves folder structure and parameters across hosts and devices.
What to test before you buy
Before purchase, run this checklist:
- Import speed (time an import)
- Search accuracy (try fuzzy searches)
- Batch operations (rename/export)
- Auditioning (play from manager)
- Cross-platform export (move library between OSes)
- CPU and RAM use during browsing
- Backup/export options and license limits
Practical naming, tagging, and metadata rules
Names and tags should tell a quick story. Start with a short, fixed order: synth name, sound type, tempo/key (if relevant), mood or use, and a version number. Keep labels short and consistent — three to five parts max. Pick a separator (dash or underscore) and stick to it. Maintain a small legend for abbreviations.
Think about how you’ll search before you name. Add fields that your preset manager or DAW can read: creator, synth engine, CPU weight, and a quick note like wet or dry. These help synth preset managers for sound designers organizing large libraries pick things up fast and keep sessions moving.
Quick tip — always add a one-word mood tag (bright, dark, warm). It’s the fastest way to find a vibe when you’re racing against a deadline.
Simple preset naming conventions that work
Choose a predictable order and a tiny vocabulary. Example convention:
SYNTH-ROLEKEY-BPMMOOD_V01
Role = lead, pad, bass. Key/BPM optional for tempo- or key-dependent sounds. Short tokens beat long sentences; use caps for parts and hyphens between them. Numeric versions (V01, V02) make rollbacks easy.
| Part | Example Token | Sample Name |
|---|---|---|
| Synth | FM8 | FM8-Lead |
| Role | Lead/Pad/Bass | FM8-Lead |
| Key/BPM | C4 / 120BPM | FM8-Lead-C4-120 |
| Mood | Bright/Dark | FM8-Lead-C4-120-Bright |
| Version | V01 | FM8-Lead-C4-120-Bright-V01 |
Tagging and metadata presets for fast search
Tags are the secret sauce. Use tags for instrument type, genre, mood, texture (gritty, glassy), CPU load, and intended use (arp, riser, staccato). Keep tag words simple and limit to a few per preset. Build a metadata preset in your manager or DAW and apply it on save.
Add searchable fields: author (you or Sambizanga Musik), synth model, and a short phrase on how you use it. When you search afrobeat pad warm or low-CPU bass, the right sounds pop up — saving hours.
Recommended metadata tags: synth, role, genre, key, BPM, mood, texture, CPU, author
Folder vs tag systems and when to use each
Folders are best for big buckets: projects, releases, or archives. Tags win when a preset fits many contexts. Use folders for long-term storage and tags for daily search. A hybrid approach — one main folder plus rich tags — gives structure and speed. For large libraries, tags let you pull the same sound into many projects without copying files.
Batch edits, backups, and version control for synths
Batch editing, backups, and version control are lifelines for large synth collections. Duplicate the library, run small test edits, then scale up. That lowers risk and keeps session flow intact.
Pick tools that match your needs. Some preset managers are built for bulk changes; others focus on tagging and search. If you’re searching for help, look for guides specifically about synth preset managers for sound designers organizing large libraries — they point to tools and methods that make big libraries manageable. Use a preset manager to preview, tag, and export groups so you can work fast without wrecking originals.
Treat version control like a habit: tweak, test, label. Keep human-friendly notes with each save so you can backtrack.
How to batch-edit synth presets safely
Start small: 5–10 presets that represent variety. Make edits, listen in projects, and note problems. If the small batch works, scale to larger groups. Always work on copies, not originals — use suffixes like _v2 or _test. Keep a changelog with date and brief notes.
Set up preset version control and rollbacks
You don’t need Git-level complexity. Use dated folders, semantic tags, and a lightweight commit log, e.g. synthX/2025-09-27_modulated-filter/notes.txt. For more structure, use a manager with built-in history or Git LFS for binaries and text notes for intent.
Keep a stable folder for your last known-good set used in live shows or projects. When rolling back, restore the closest dated snapshot.
Tip: Before a big batch run, export a single preset as a human-readable snapshot (name, key settings) so you can quickly spot glaring changes later.
| Method | Best for | Pros | Cons |
|---|---|---|---|
| Dated folders logs | Home producers | Simple, no extra tools | Manual, can get messy |
| Preset manager with built-in undo | Sound designers with large libraries | Fast search, tagging, rollbacks | Cost, learning curve |
| Git LFS or cloud versioning | Teams or heavy deploys | Full history, collaboration | Overkill for small setups |
Best backup practices for large libraries
Backups are non-negotiable. Keep at least two copies: one local on a fast drive and one offsite or cloud. Use incremental backups to save space but capture history. Test restores every few months. Keep a read-only archive of factory presets separate from edited collections so you can always start fresh.
- Keep two backup locations: local SSD for speed, cloud for disaster recovery
- Use incremental snapshots with clear timestamps
- Keep an untouched archive of factory presets
Search, filter, and recall: find sounds fast
You need sounds fast when an idea hits. Treat your preset library like a kitchen — tidy and labeled tools get dinner made. Use short, consistent names and a handful of smart tags to cut search time.
Look at the sound first, then the name. Waveforms, tags, and quick descriptors give clues before you load a preset. Try browsing only slow pads or tight plucks for five minutes and you’ll feel the difference.
Save three go-to searches for each project: one for leads, one for textures, and one for rhythms. That habit saves a full afternoon in the studio.
Sambizanga Musik favors simple rules that scale. Start with three layers of filtering — instrument type, mood, and function — then add a saved search for sessions needing speed. This works whether you run a few hundred presets or use synth preset managers for sound designers organizing large libraries.
Build smart filters and saved searches
Pick five filter fields you actually use (type, genre, tempo range, key, character) and commit to them. Use AND/OR to broaden or narrow results, e.g. bass AND warm AND 80–120 BPM.
Save searches as snapshots of mood: Chill Lead, Percussive FX, Lo‑Fi Pads. Load a set, scan two or three, and move on.
| Filter | Best for | Example saved search name |
|---|---|---|
| Instrument Type | Narrow to synth, bass, pad | Bass — Tight |
| Character/Tag | Find tone fast (warm, bright) | Warm Pads |
| Tempo Range | Match tempo without warping | 90–100 BPM Grooves |
| Key | Harmonize quickly | Key: C Minor Leads |
| Function | Role in mix (lead, bed, FX) | Rhythmic FX |
Use waveform, tags, and descriptors to refine results
Waveforms show shape: jagged = plucky/transient, smooth = pad/sustained. Tags and one-line descriptors are memory anchors. Use single-word tags: buzzy, airy, long, short, cut, round. Limit tags to under five per preset so searches stay crisp.
Speed tips for recalling presets in a session
- Assign a favorite slot to the last-used preset
- Use a keyboard shortcut to toggle saved searches
- Keep three global saved searches (Leads, Beds, FX)
- Tag with keys and tempo so results match your session
Integrate presets with your DAW and optimize workflow
Preset libraries can speed you up or slow you down. Choose a single master folder for presets and stick to one naming style. Map your DAW to that master folder so presets appear inside the DAW browser, ready to load. Group presets by instrument and sound type to keep flow: open a project and the right sounds are one click away.
Plan backups and version notes so you can roll back if a tweak breaks a sound. For large collections, consider synth preset managers for sound designers organizing large libraries — they index, tag, and speed up searching. Treat your preset system like an instrument: tidy, tuned, and ready to play.
Tip: Back up your master preset folder to the cloud after major changes. A quick restore beats hours of rebuilding a sound you loved.
Load and map presets in FL Studio, Ableton Live, and Logic Pro X
FL Studio: Use the Plugin Database or the Channel Rack. Save presets into FL’s Browser/Plugin database by dragging plugin presets into a folder there. Map controls by right-clicking a knob → Link to controller.
Ableton Live: Drop presets into your User Library or create a dedicated folder in Places. Save device presets with the disk icon. Use MIDI Map Mode or Remote Scripts for mapping. Add one-line descriptions in the preset’s notes field.
Logic Pro X: Use the Library and Channel Strip Settings. Save patches to the library and use Command‑click (or Smart Controls) to map controls with Learn MIDI CC.
| DAW | Where to store presets | Quick mapping method |
|---|---|---|
| FL Studio | Plugin Database / Browser | Right-click knob → Link to controller |
| Ableton Live | User Library / Places | MIDI Map Mode or Remote Script |
| Logic Pro X | Library / Channel Strip Settings | Command-click knob → Learn MIDI CC |
Cross-platform syncing and workflow optimization
Use a cloud folder (Dropbox, Google Drive) for your master library and point each DAW to that single source. Keep relative sample paths by saving sample-based presets inside your project or a synced samples folder. Standardize folder names and short filename tags like BD (bass) and PL (lead). When sharing, include a README with plugin versions used.
For very large libraries, dedicated preset managers that index and tag files cut search time dramatically.
Low-cost home-studio setups and quick integration tips
Set up a budget chain: simple audio interface, decent headphones/monitors, USB MIDI controller, and an SSD for samples and presets.
- Keep the master preset folder on the SSD
- Map a few favorite knobs to your controller
- Back up to the cloud weekly
- Use lightweight managers or DAW browser folders rather than huge standalone databases
Conclusion
You’ve got a clear map now. A good preset manager helps you save time, stay creative, and stop your library from becoming a jungle.
Keep it simple: consistent naming, smart tagging, quick batch edits, and regular backups. Test tools before you buy, sync across machines, and point your DAW to one master folder. Those small habits compound into huge workflow wins.
Start by tagging 50 go-to sounds, keep dated snapshots for rollbacks, and batch-test edits on copies. Little routines like that keep projects from dying on the vine and let you finish more music.
Ready to dig deeper? Find more practical tips, guides, and real-world tests at https://sambizangamusik.com — your next session will thank you.
Frequently asked questions
- What is a synth preset manager and why do you need one?
It stores and recalls patches fast. You save time and stay focused on music, not file chaos. Sambizanga Musik shows practical ways to use them.
- How can a preset manager speed up your sound design workflow?
You jump to sounds in seconds by tagging, filtering, and auditioning quickly. That means more ideas and less menu hunting.
- What key features should you look for in a preset manager?
Fast search, tagging and rating, bank syncing and backups, and easy drag-and-drop. Sambizanga Musik tests these features for real-world use.
- Are there good free and paid preset managers you can trust?
Yes. There are solid free tools and pro paid options. Sambizanga Musik reviews both so you can pick tools that fit your budget.
- How do synth preset managers help with synth preset managers for sound designers organizing large libraries?
They let you tag, sort, and filter huge collections. You build folders, smart lists, and quick collections so you find sounds fast and keep your studio sane.